

Last week I discussed the importance of curb appeal in this post and one cheap, quick method of dressing up the outside of your house is a door wreath. After reviewing other door wreaths on Pinterest, I decided to tackle my own version of DIY floral wreath project. Below I'll take you through the steps.

I bought all my materials from A.C. Moore, but you could go to any local craft store. A.C. Moore does not sell their products online, so I've linked to Michaels. If you make jewelry or have an electrician in the family, then you probably already have wire cutters or can borrow some. I used the glue gun for the ribbon.
- 20" Grapevine Wreath (only in store, 18" here)
- Silk florals - rose bush (pink option), white flower garland
- 24 gauge floral wire
- Green floral tape
- Ribbon (optional, exact one I used)
- Tools - wire cutters, glue gun (includes glue sticks)

- Separate out individual flowers w/ cutters
- Cut 12" wire pieces
- Loop wire around flower & twist two ends together
- Wrap floral tape, starting at flower base until reach wire end
- Insert flower stems in wreath & wrap stems around twigs
- Loop 12" ribbon around wreath for hanging purposes
- Make bow and glue bow & ribbon to wreath
STEP 1 DETAILS
I separated out the roses from the bush. There were a total of 18 and I decided to arrange them in ombre pattern ending with the white flowers. The white flowers were removed from 24" garland.
STEP 2 DETAILS
I cut a total of 30 12" wire pieces, 18 for my roses and 12 for my orchids.
STEP 3 DETAILS

I probably cut off a little too much of the stem, but looped around the baby breath and then twisted the wire.
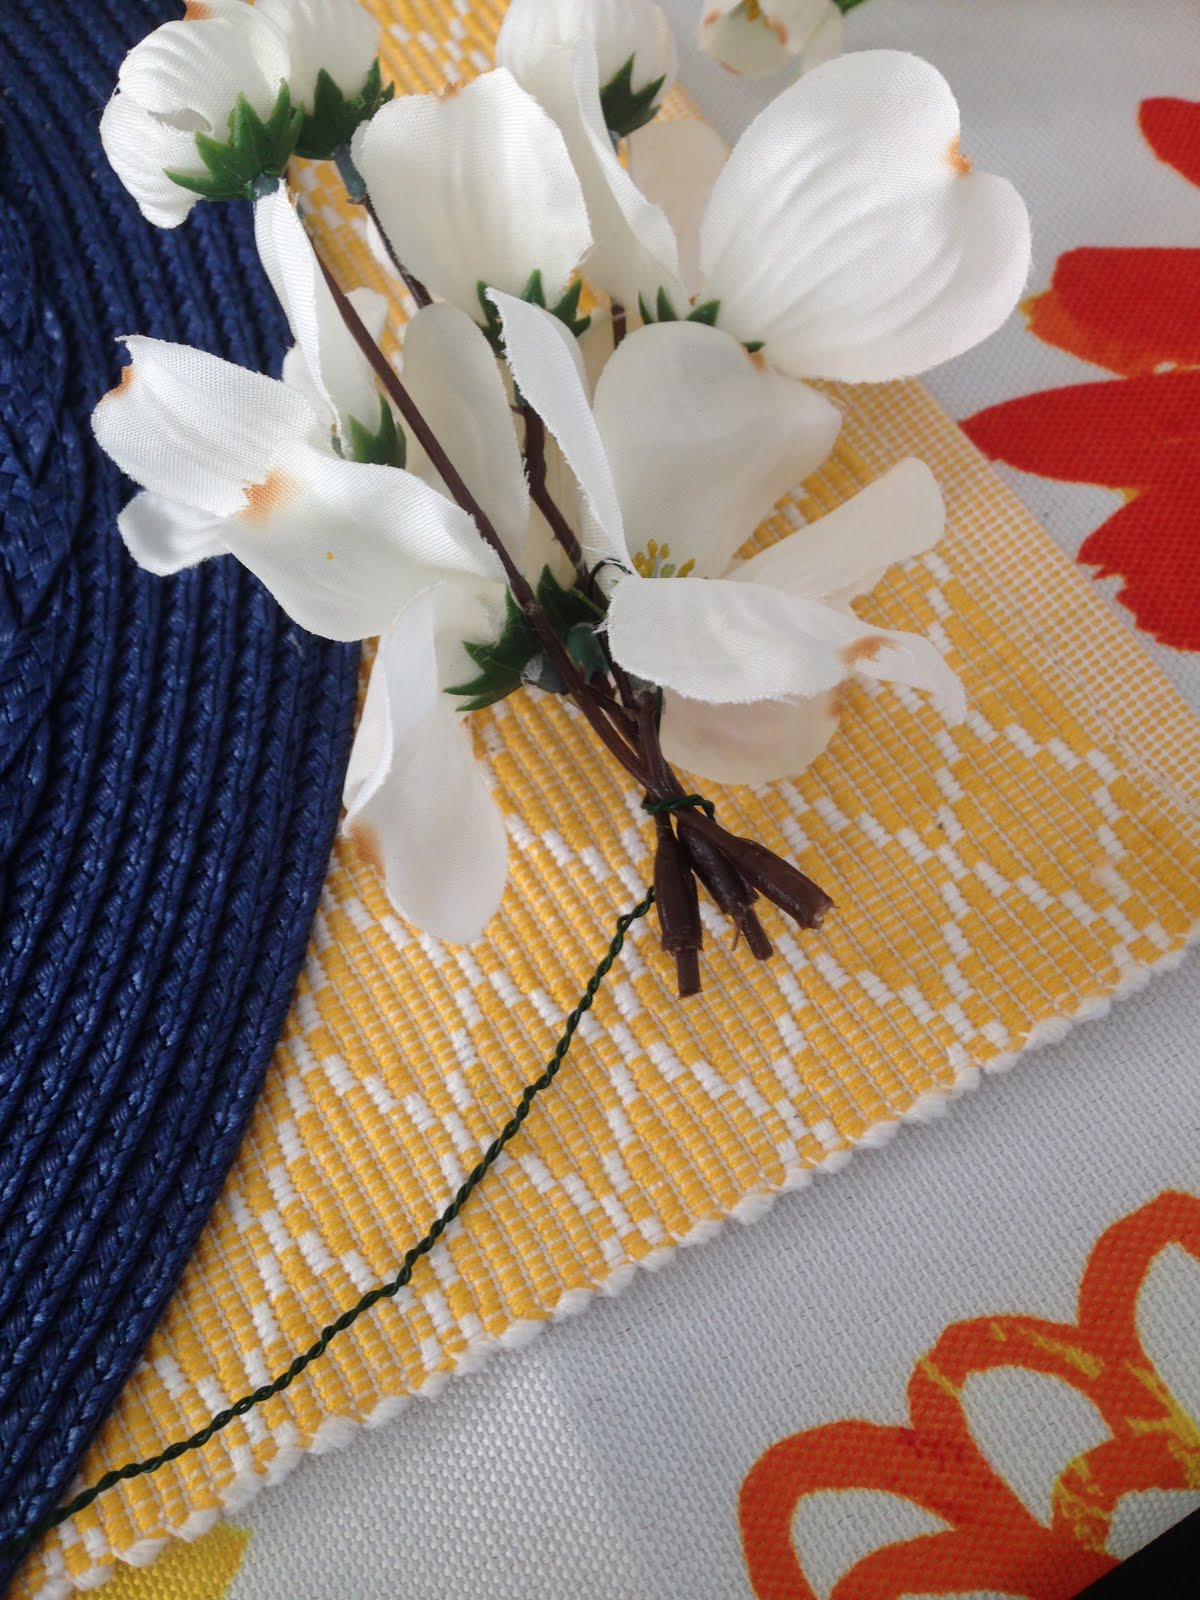
For the white flowers, I bunched three sprigs together, looped through the lower stems and twisted the two ends. The chunkiness at the bottom made the floral tape somewhat difficult, but as I got better at taping, it got easier.
STEP 4 DETAILS

I cut about 18" lengths of ribbon tape and started wrapping around the floral base. For the most part, I had enough length to reach the end of the wire.
STEP 5
I didn't take specific pictures, but you can find those in Punkin Pattern's article. I pushed the taped stem through the front and wrapped the stem around the grapevines on the backside of the wreath.


STEPS 6 & 7

I cut 12" piece of ribbon and looped it around the top of the wreath. I glued the overlapping ends. Then I took another 12" piece of ribbon, created a bow, and glued that to the base of the loop.
FINAL PRODUCT

That's my DIY floral wreath project - hope you enjoyed. I might update this in the future as I really like the initialized wreath, but didn't find anything the right size in the store. They didn't have any of the circled initials and I figured I could add the detail in later. Please share your own designs in the comments section below.
Love, Candace Jean
This post has been shared at these link ups.
I've also shared this on Show and Share on Coastal Charms.


No comments:
Post a Comment