Showing posts with label remodel. Show all posts

How We Renovated Our Kitchen With $10,000 Budget

How We Renovated Our Kitchen With $10,000 Budget

This is a wrap up of the Kitchen Remodel Series I put together over the past 3 weeks.  You can find my post regarding floors here, the second post detailing cabinetry, countertops, and backsplash here, and the last post detailing the space opening, painting, and lighting here.

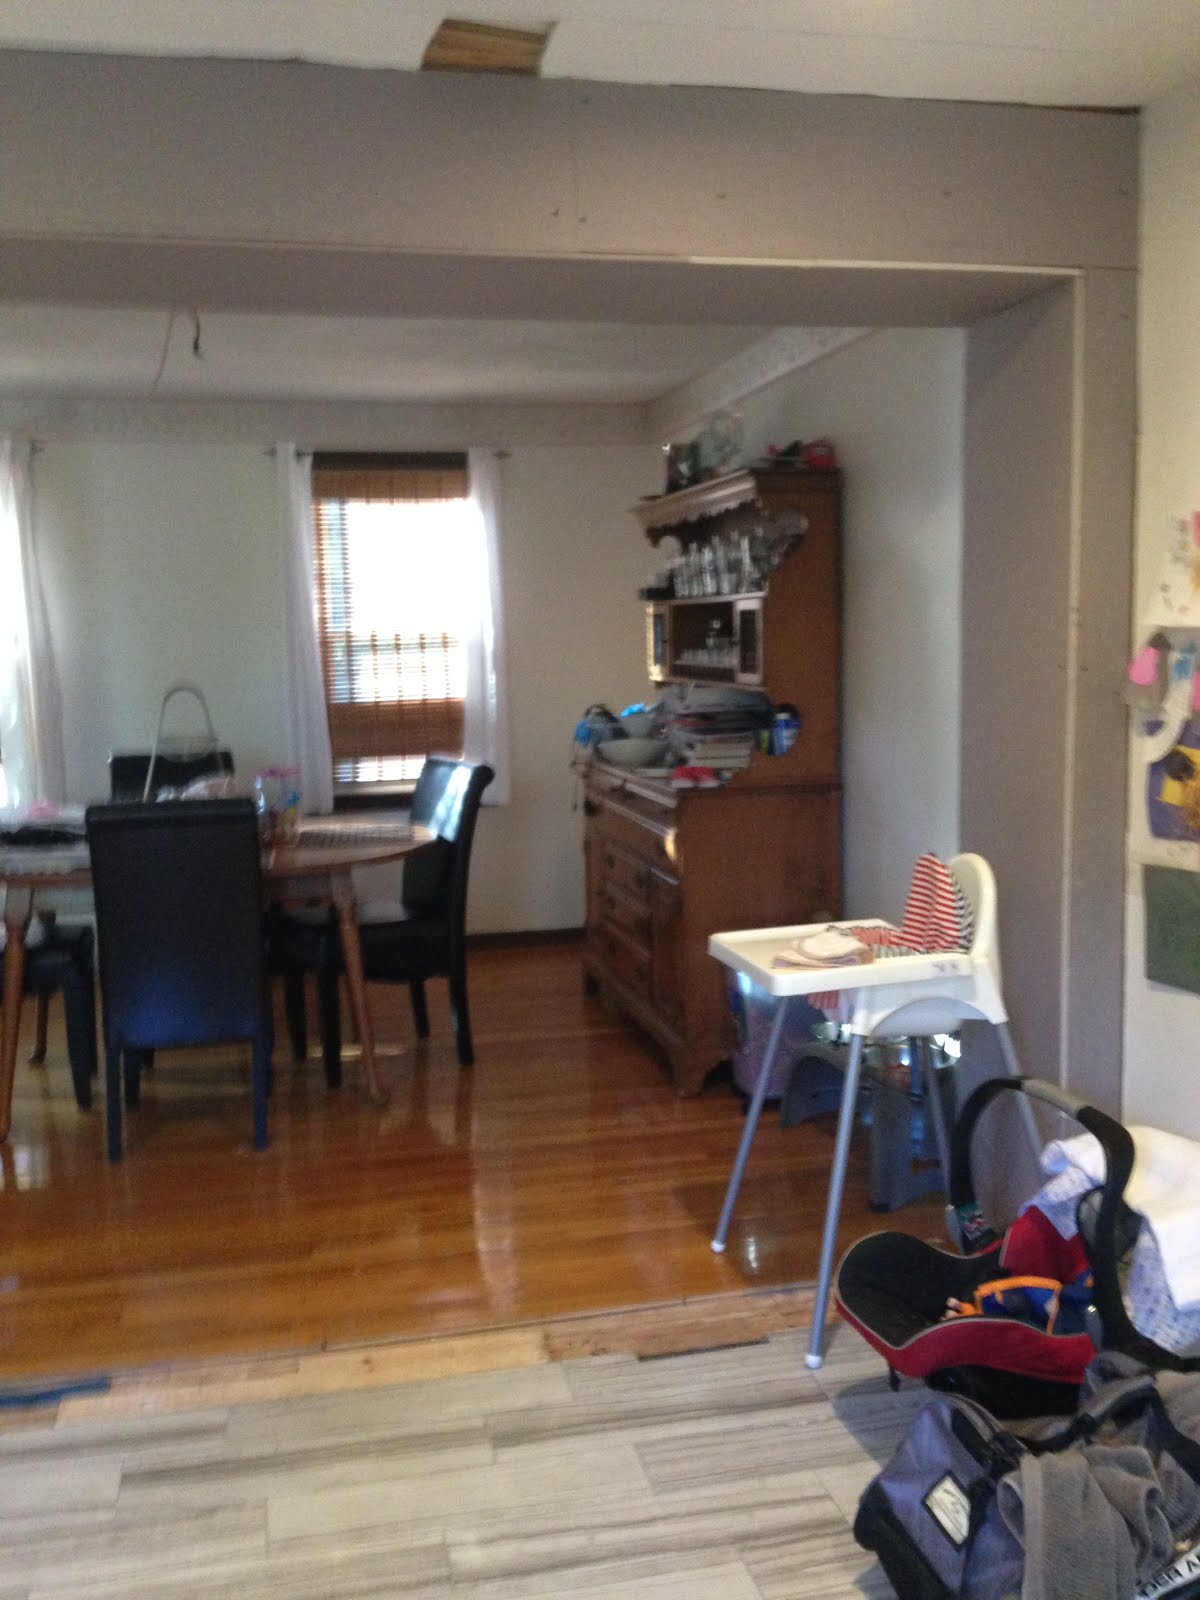
I was able to find some original pictures of the kitchen and dining room so you can better appreciate the difference the remodel has made in our home.  I really think that we've created a modern, clean look that brings our home into 21st century.

outdated 70s L shaped kitchen long view

In this first picture, you can see the wall that was between the kitchen and dining room.

70s dining room
This is the view of our dining room from the entrance way closest to the front door.  They had wall paper trim, which I had a blast removing (I say that with complete and utter sarcasm) and you'll notice the vent in the center of the wall.  That is where the heating ducts were located.

70s dining room
This is the dining room view from the kitchen entrance way.

BEFORE & AFTERS

SLIDER

updated kitchen with new slider and white trim

CABINETS BEFORE


outdated 70s L shaped kitchen

outdate 70s L shaped kitchen

CABINETS AFTER


updated kitchen with white cabinets, black countertops, and stainless steel appliances


updated kitchen with white cabinets, black countertops, and stainless steel appliances

updated kitchen with white cabinets and black countertops

DINING ROOM


dining room before and after

BUDGET BREAKDOWN

I put together a table reflecting all of our costs for materials & labor.  Total cost for materials & labor equaled $10,150.  As I mentioned, we worked on this renovation for 11 months so that spread out how much we were spending.  I think this is a huge benefit of doing it yourself with the downside being you're living in a renovation zone for a longer period of time.  The first chunk of what we did - floors, slider, cabinets, backsplash, and countertops had to happen in a shorter time frame than the rest.  We needed the cabinets out to the pull up the old floors and couldn't put appliances in and have a functional kitchen until cabinets and countertops were in.  That total part of the project was $4100.  The wall removal was the second big chunk of spending at $2000.  After that, we didn't do anything for a couple of months while we waited for things to settle down with Dean.  During that lull, we purchased the soffit and duct materials as well as the lighting.  Last, we followed this by having someone come in and do the painting.  This is where we could have saved money, but for another person who doesn't have a handy husband, might have spent the money on getting the electrical done.  Ours included 4 recessed lights in the kitchen, light fixture over the sink, and the dining room chandelier.  Mark put in dimmer switches for all 3 types of lighting and there are two dimmer switches for the kitchen - 1) by the slider entrance and 2) in the hallway before you reach the kitchen.

kitchen renovation budget

Our floor, backplash, and slider were purchased at Home Depot.  Cabinetry and countertops were vetted through the same company.  For granite, we went and picked out the piece of granite we wanted as the granite supplier (MSI Stone in Norwood) was local.  Lighting came from Pottery Barn and our paint was Summer Shower by Benjamin Moore.  In looking at other kitchen remodels, I came across some other great renovations.

Image via The Kim Six Fix
Image via Young House Love
Image via DIYFunIdeas

Love, Candace Jean

Kitchen Remodel Series: Wall Removal | Paint | Lighting

Review of Kitchen Remodel

So, in January of last year, we decided to buy new appliances.  Those came in at the end of January.  With the arrival of new appliances and Mark’s friend from Florida, we started floors in February.  In the midst of tearing up the floor, we discovered there were 2 layers and that our cabinets were absolute crap and determined that replacements were necessary for our new look.  The time line and remodel steps were outlined in series post 1.  We shopped around for two weeks and two weeks after that, got design info and pricing.  At the beginning of March, we found our local cabinet maker and the cabinets were dropped off and installed by mid-April.

Side Note...Dinnerwear

I decided that we needed new dishware and found a great pattern on clearance through Crate & Barrel.  I purchased 12 place settings of Rika pattern seen below.  I absolutely love the crisp white and blue, plus the blueberry pattern is fun.  On clearance, I picked up 12 dinner plates, 12 salad plates, and 12 bowls for $150.  Such a good deal, made out of porcelain and dishwasher safe.


Moving on to Wall Removal

Our house is a colonial with the divide going horizontally, which meant removing a load bearing wall to open up the dining room into the kitchen to be one large space.  In addition to this wall being load bearing, it also contained the ducts for the heating to our children’s bedrooms.  I don’t really know all that’s involved in this, nor was I there for it since Mark scheduled it the week I was in the hospital after having Dean.  I do know that to remove a load bearing wall, you need to build temporary walls on either side of the wall being removed to add in LVL beam.  My husband demo'd the wall first, removing all of the drywall and plaster, leaving behind just the framing.  With parts (LVL beam) and labor, this was $2000.  After this, my husband relocated the heating ducts and ran them up the side wall closest to the hallway.  Once that was completed, he built a soffit around the LVL beam and relocated heating ducts as seen below.


I'll have to check in with him in regards to material cost.  The final step was plastering of the soffit, which was another day's worth of work.  Plastering was $300 expense - we paid to have someone come in and finish it.  To put this into time line perspective, we went the whole summer without central air vented to the upstairs and used AC window units.  Mark did the heating duct relocation and soffit in October.  The next step in our remodel was painting.

PAINTING

In November, Mark commissioned a painter that he had worked with previously on other residential jobs.  We decided on repainting our ceilings, white paint on the doors & trim, and Summer Shower by Benjamin Moore on the walls in both the kitchen and dining room.  We had to patch a few things around the soffit requiring painting of the ceiling as well as go over marks left on the ceiling by the previous lights.  Since we had to paint the ceiling in the kitchen and dining room, we had him paint the entire downstairs ceilings.  When I was considering kitchen paint colors, I read an article on HGTV on Best Colors To Paint A Kitchen, which suggested warm tones like red or yellow, to brighten the room.  Yellow was immediately vetoed by my husband so blue was an obvious choice.  


  Summer Shower by BM is a smokey blue color that I thought would complement the white and gray tones in our kitchen.  This was the pin I had found on Pinterest of the paint color and immediately loved it.  Below is the paint color in our kitchen.  The first views are the slider - you can see that we added trim around it.


The next views are of the soffit and the opening between the two rooms.  You can also see we replaced the window shades and curtains.  The shades were purchased at IKEA @ $20 a window (for window size 27" x 64").  I bought the curtains online at Macys for $15 per panel.


Sorry I I don't have a picture of the dining room and kitchen before the wall removal.  The opening between the two rooms was below the laugh sign.


LIGHTING

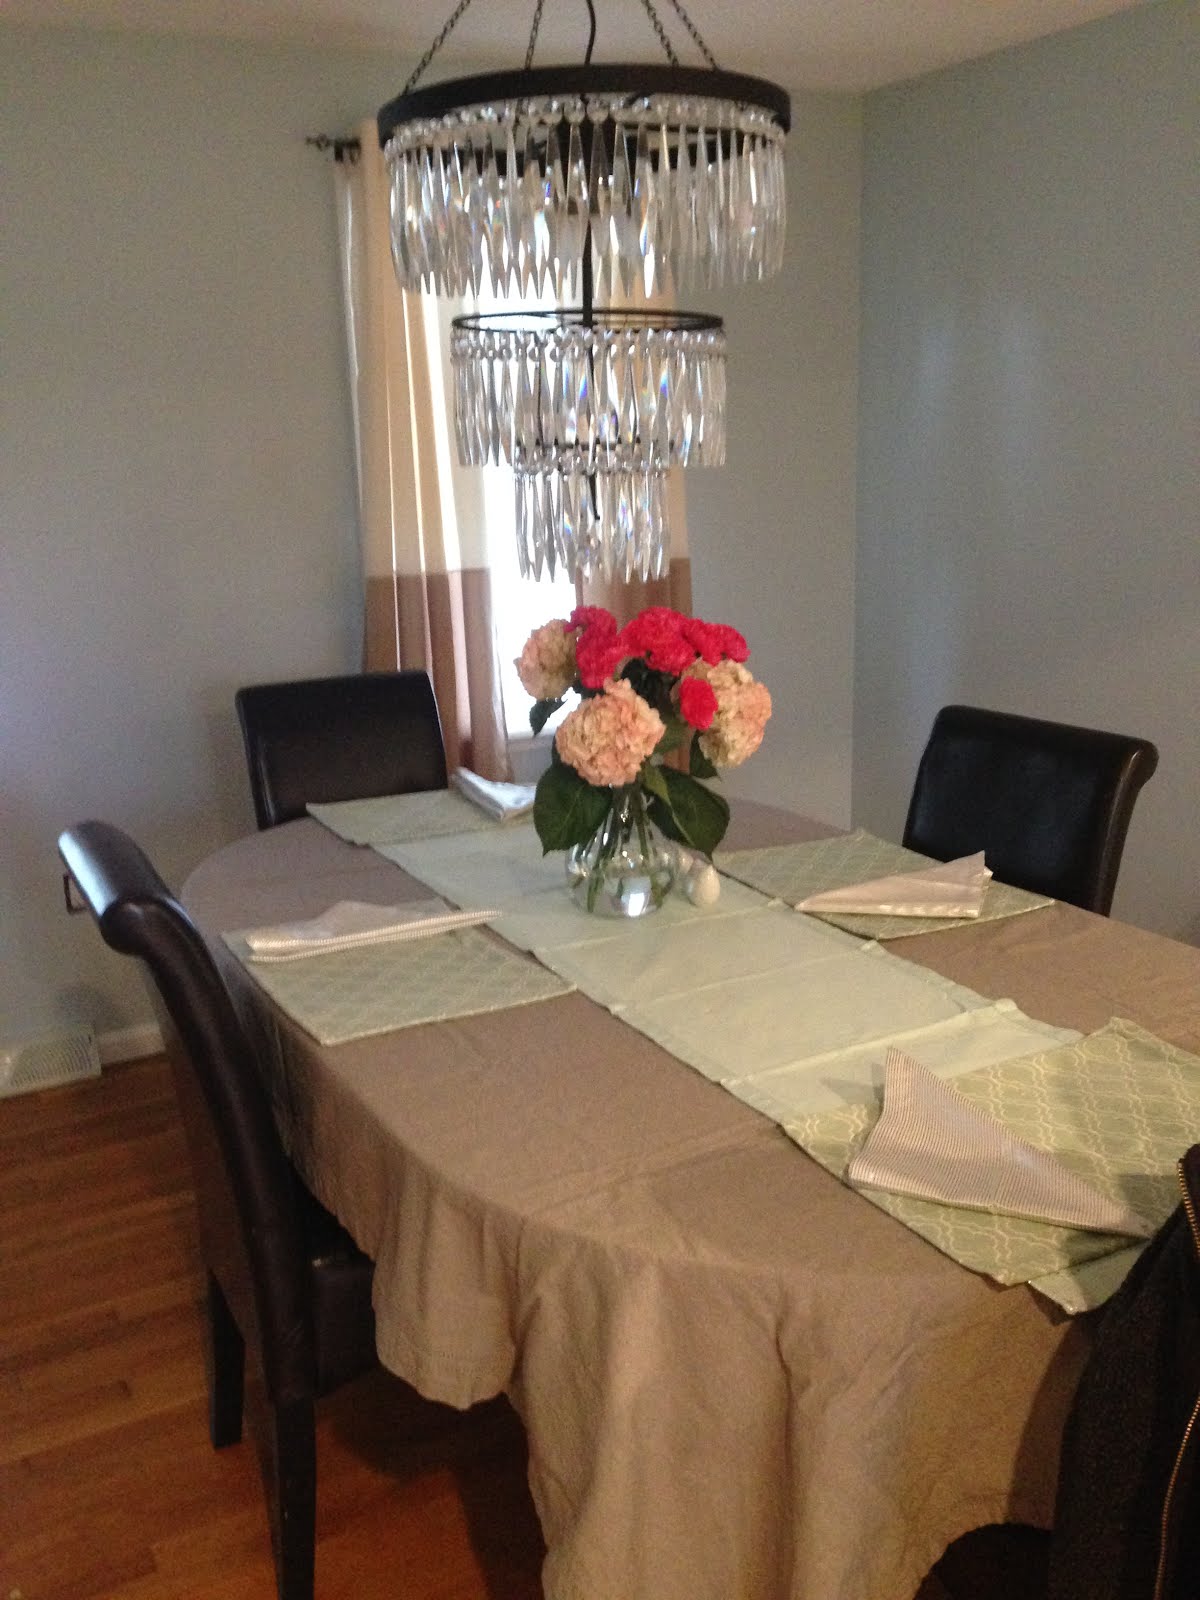
The previous lighting in our kitchen was a central wall mount fixture and a chandelier in the dining room.  The first thing Mark did was put in 4 recessed lights in each corner of the kitchen.  After that, we discussed what we wanted for replacement light fixtures.  We decided that we wanted a pendant in front of the kitchen window and a new chandelier for the dining room.  My first question to Mark was what I could have for a budget, which he set at $500.  I was able to get the fixtures I wanted at Pottery Barn by waiting for them to go on sale and use 20% off coupon.  I got both lights for under $500 (when you add in sales tax and shipping & handling, it might have been a little bit over).

Pendant

Image via Pinterest


Chandelier

Image via Pottery Barn


When selecting the light fixtures, I had 2 considerations 1) finish and 2) diameter size.  I needed the lights to be antique bronze finish to match the sink fixture and cabinet handles to keep everything uniform.  In researching the chandelier size needed, I found this great calculator on Lightology.

Close Up of Pendant


Close Up of Chandelier


WRAP UP

This wraps up our kitchen/dining room remodel.  I hope you found it useful & informative.  Next week, I'll total up the costs and discuss what I'd like to do next.  There's also a few things left to finish up.  You might have noticed the piece of unfinished wood that currently serves as the transition between the kitchen and dining room space as well as the hole in the floor.  That and some grouting of the backsplash.

Love, Candace Jean

This post has been shared at these link ups.


ethannevelyn
Back to Top